Introduction:
In today's digital age, sharing files and folders between computers is a common requirement, whether for personal or professional purposes. Whether you're working with a team, transferring data to another computer, or simply sharing media with a friend, knowing how to share folders and drives between computers can save time and hassle.
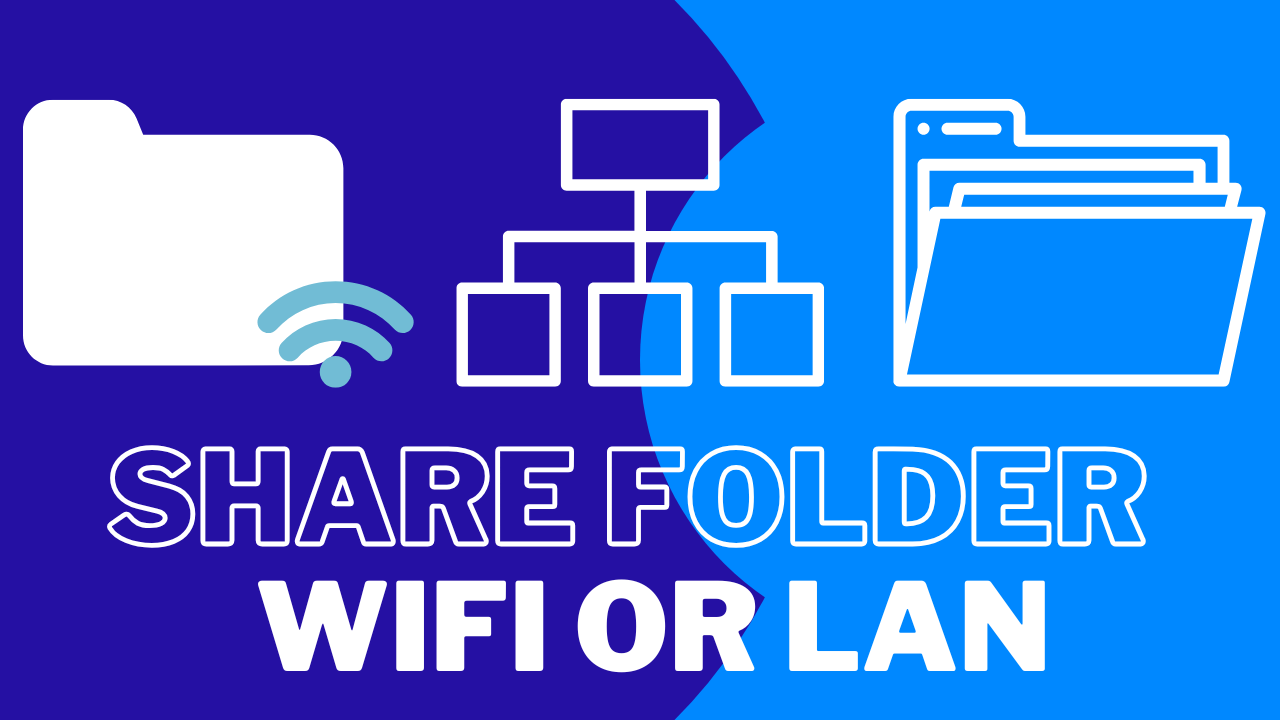
In this step-by-step guide, we will walk you through various methods to share folders and drives from one computer to another, including using local networks.
1. How to Share Folders & Drives Over a Local Network (Windows)
Windows operating systems make it easy to share folders and drives within a local network, such as in a home or office. Here’s how you can do it:
Step 1: Enable File Sharing on the Source Computer
-
Open the Control Panel from the Start menu.
-
Click on Network and Sharing Center.
-
Select Change advanced sharing settings on the left sidebar.
-
Ensure the following options are selected:
-
Turn on network discovery.
-
Turn on file and printer sharing.
-
Allow Windows to manage homegroup connections (recommended).
-
Step 2: Share the Folder or Drive
-
Right-click the folder or drive you want to share.
-
Select Properties.
-
Go to the Sharing tab and click on Advanced Sharing.
-
Check the box next to Share this folder.
-
Click on Permissions to choose who can access the shared folder.
-
Click Apply and then OK.
Step 3: Access Shared Folder from Another Computer
-
On the second computer, open File Explorer.
-
In the address bar, type
\\[IP address of the first computer]or simply\\[Computer Name](you can find the IP address in the network settings). -
You should see the shared folder or drive listed. Double-click to access it.
2. How to Share Folders & Drives on Mac (macOS)
Sharing files between Macs is also relatively straightforward, using Apple's built-in file-sharing capabilities.
Step 1: Enable File Sharing on the Source Mac
-
Open System Preferences.
-
Click on Sharing.
-
Check the box next to File Sharing.
-
To share a specific folder, click the + button under the Shared Folders section and select the folder you want to share.
-
You can also configure user permissions by clicking on the Options button.
Step 2: Access the Shared Folder on Another Mac
-
On the second Mac, open Finder.
-
Click Go in the menu bar, then Network.
-
Look for the name of the first computer. Double-click to access the shared folder.
Step 3: Access the Shared Folder on Windows from Mac
-
Open Finder on your Mac.
-
Click Go in the top menu, then select Connect to Server.
-
Type
smb://[IP address or computer name of Windows PC]. -
Click Connect. You’ll be prompted to enter the credentials for the Windows machine.
3. How to Use Cloud Storage to Share Folders
If you prefer not to mess with network settings or you're sharing files across long distances, using a cloud storage service is a great option. Some popular services include Google Drive, Dropbox, and OneDrive.
Step 1: Upload Files to Cloud Storage
-
Sign up or log into your preferred cloud service (Google Drive, Dropbox, or OneDrive).
-
Upload the folder you want to share to the cloud storage account. Most services allow drag-and-drop for ease.
-
After uploading, click on the Share button (usually located next to the file or folder).
Step 2: Share Folder Link
-
You’ll be given the option to either send an email invite or copy a shareable link.
-
If sending an invite, enter the recipient’s email and set permissions (e.g., Viewer, Editor).
-
Alternatively, copy the link and send it via messaging apps or email.
Step 3: Access Files on Another Computer
-
On the recipient's computer, open the cloud storage website or app.
-
Sign in with the account (or follow the shared link if sent via email).
-
Download the files or directly open the folder for access.
4. How to Share Files Using External Hard Drives or USB Flash Drives
For users who prefer not to use a network or cloud storage, transferring files via an external hard drive or USB flash drive is a tried-and-tested method.
Step 1: Copy Files to the External Drive
-
Plug the external drive or USB flash drive into the source computer.
-
Copy the folders or files you want to share.
Step 2: Transfer Files to the Destination Computer
-
Unplug the external drive from the source computer and plug it into the second computer.
-
Open File Explorer (Windows) or Finder (Mac), locate the external drive, and copy the files to the second computer.
5. How to Share Files Using Bluetooth (For Small Files)
For transferring small files between computers without cables or a network, Bluetooth is a convenient option. However, Bluetooth transfer speeds are much slower compared to other methods.
Step 1: Enable Bluetooth on Both Computers
-
Make sure Bluetooth is turned on for both computers.
-
On Windows, go to Settings > Devices > Bluetooth & other devices, and turn it on.
-
On macOS, go to System Preferences > Bluetooth, and turn it on.
Step 2: Pair the Two Computers
-
On either computer, search for the other device under available Bluetooth devices.
-
Pair the devices by following the on-screen instructions.
Step 3: Send the File
-
On the source computer, right-click on the file you want to send, and choose the Send via Bluetooth option.
-
Choose the destination computer from the list of available devices.
-
Accept the file on the receiving computer.
Comments
Post a Comment